Ingredients
Equipment
Method
- Preheat your oven to 350°F (175°C) and line a baking sheet with parchment paper.
- In a large mixing bowl, beat together softened butter and sugar until creamy and light in color, about 2-3 minutes. The mixture should be smooth and fluffy, releasing a sweet, buttery aroma.
- Add the egg and vanilla extract to the bowl, mixing until fully incorporated. The batter will become slightly glossy and smooth.
- Gradually add the sifted flour, baking powder, and chopped almonds to the wet mixture. Mix on low speed or stir by hand until a stiff dough forms that can be easily handled without sticking excessively.
- If desired, knead in a few drops of food coloring into the dough to give it an eerie green or brown tint, then chill in the refrigerator for about 20 minutes to relax the dough and make shaping easier.
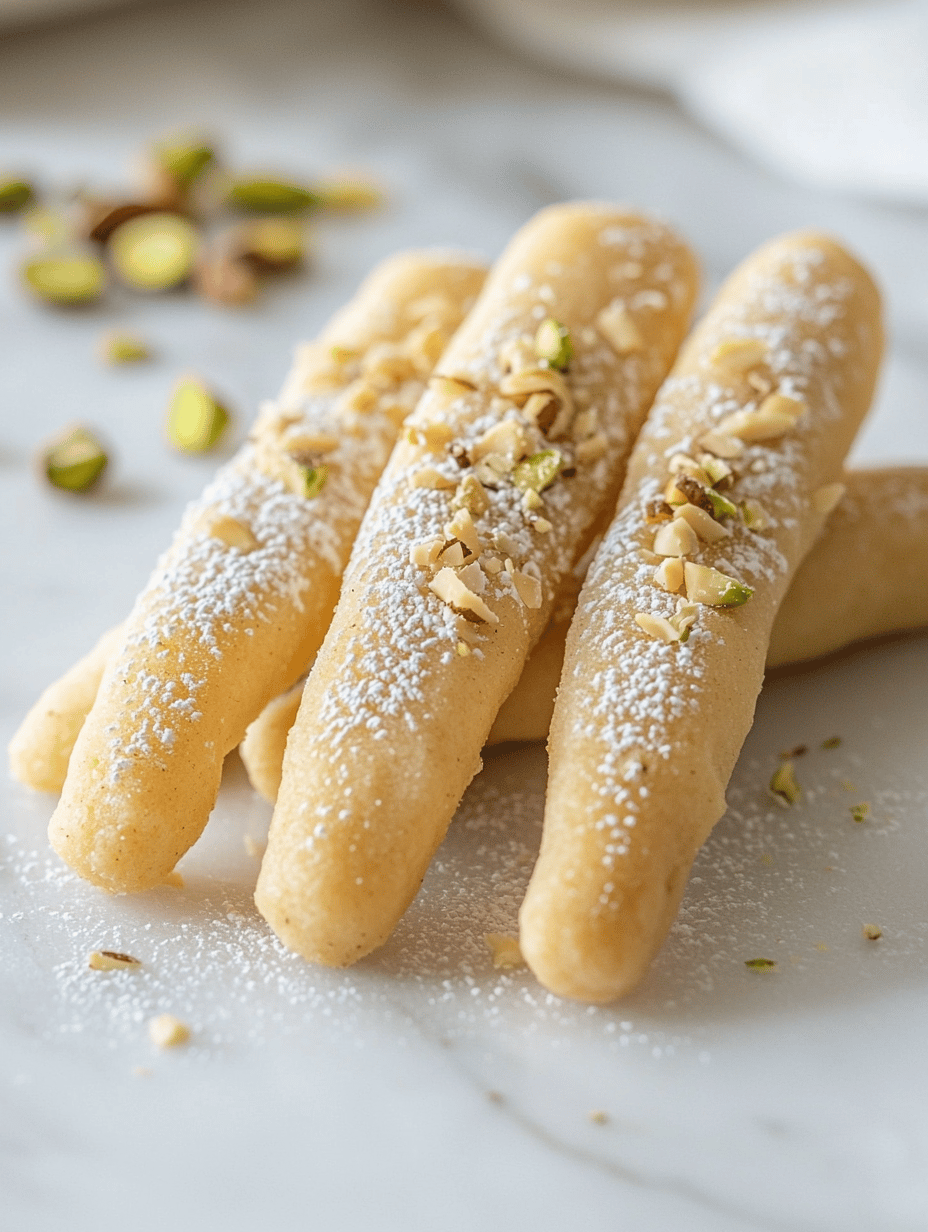
- Divide the dough into small portions and roll each into a thin, elongated finger shape about 3-4 inches long. Slightly taper the ends to mimic fingers.
- Use a small knife or toothpick to create tiny knuckles or cracks along the fingers for a realistic effect, and press almond slices onto the tips for fingernails.
- Place the shaped cookies onto your prepared baking sheet, spacing them out to prevent touching as they spread slightly when baking.
- Bake in the preheated oven for 12-15 minutes until the edges are golden and crispy. Keep a close eye at the 12-minute mark to prevent over-browning or burning.
- Remove the cookies from the oven and let them cool on the baking sheet for 5 minutes before transferring them to a wire rack to cool completely. The cookies should be crisp and firm to the touch, with cracked, eerie fingers.
- If any cracks appear, patch them with a little edible glue or extra dough to maintain a seamless, creepy finger appearance.
- Serve your spooky witch fingers on a platter, ready to creep out and delight your guests with their nutty flavor and eerie look. Enjoy the crunch and the fun of these frighteningly realistic treats!
Notes
Chill the dough to prevent spreading, and handle gently when shaping. Use food coloring sparingly to avoid bleeding colors. Keep an eye on the edges during baking to avoid over-browning.